Your shopping cart is empty!

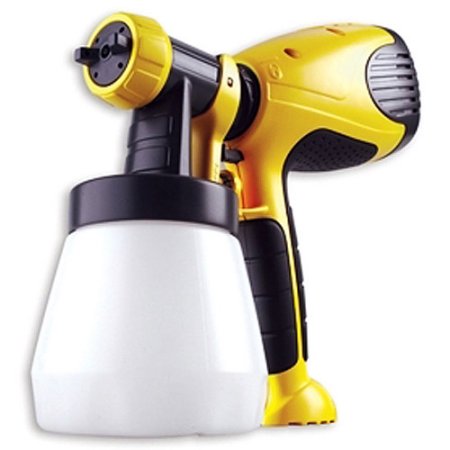
Welcome to the custom t shirt business. When pretreating the shirt you are going to find out there are a couple different ways people like to do it. You have the Wagner sprayer along with dtg pretreat machines. Would you believe that we still use several Wagner sprayers to pretreat our shirts? This is true, We have multiple Wagners with different types of pretreatment for the different shirts we are going to print on. We have over 5 years experience with printing using a dtg machine so we know what works best.
If you are considering using the method that we use I recommend that you label your containers. Or paint the handles so you at least know that you are not spraying a black shirt with light pretreatment instead of dark pretreatment. We have a tube with a box to catch the overspray that we use to put the shirt on. I find this more efficient than loading a shirt into a dtg pretreat machine. The pretreat machine would serve better in a mall or small location where you do not want overspray around your customers. Pretreatment can get sticky and sometimes have a different smell to it that may bother your customers.
Today I will go through some steps to get you started in the right direction pretreating your t-shirts.
You want to make sure that you pretreated your shirt with even strokes and that your shirt looks semi-damp. We prepress and remove the Teflon to stop the shirt to get that white starch effect on the shirt. We do not find that too appealing so if you are getting a white box everytime you print a t shirt that is where it is coming from.
We do not use a pretreatment machine because we find it faster to pretreat this way instead of loading the shirt into the machine. The pretreatment machines are great. When using a pretreatment machine you get an even coverage every time unless there are some nozzles clogged. Pretreatment machines are also very expensive and the old ones you would need an air compressor to operate. Today there are a lot more electric ones on the market.
Feel free to tell us your experiences or troubles in the comments below.
1 Comment(s)
Thanks for the tips....
Leave a Comment