Your shopping cart is empty!
Your shopping cart is empty!
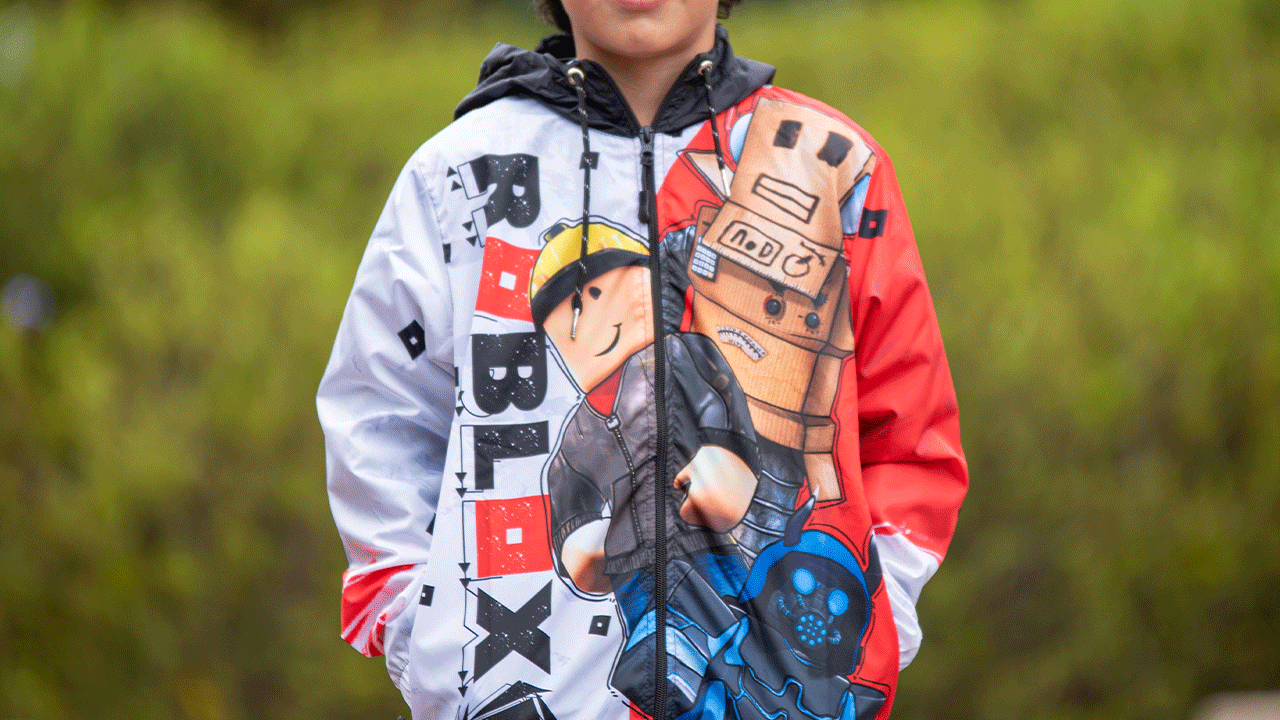
Roblox is a popular online gaming platform that allows users to create their own games and virtual worlds, but did you know that you can also create your own custom T-shirts? Having a unique T-shirt design can make you stand out among the millions of players on Roblox and give your avatar a personal touch. Since we are so experienced with designing and printing t-shirts I thought it would be only right if we tried to help. In this guide, we'll take you through the step-by-step process of creating your own T-shirt in Roblox.
Before You Begin
Before you can get started on making a Roblox T-shirt, make sure you have the following:
Step 1: Create Your T-Shirt Design
Start by creating your T-shirt design in your image editing software. Keep in mind that the design should be 512x512 pixels and saved as a .png file. Make sure the design is unique and doesn't violate any copyright laws. Try to be creative with your own funny slogan, or something cool that you thought of. It's important to have a unique Roblox t-shirt idea. I understand coming up with great ideas can be difficult sometimes. I recommend creating something that will stand out and be different from the rest.
Step 2: Import Your Design to Roblox Studio
Open Roblox Studio and create a new place. Click on the "Tools" tab and select "Insert." Select "Shirt" from the drop-down menu. Click on "Choose File" and select your T-shirt design file.
Step 3: Map Your T-Shirt Correctly
After you've imported your T-shirt design, you'll need to map it correctly. Select the "Shirt" object in the Explorer window and click on "Properties." Use the "OffsetUV" property to adjust the mapping of your T-shirt design. You can also adjust the "Tiling" property to make the design larger or smaller.
Step 4: Publish Your T-Shirt
When you're happy with your T-shirt design, it's time to publish it. Click on the "File" tab and select "Publish to Roblox" in the drop-down menu. Set the price for the T-shirt, the description, and the duration of the sale. Click on "Upload" and your T-shirt design will be available for purchase in the Roblox catalog.
Legal Issues to Consider
Before you create your T-shirt design, be sure to review Roblox's terms of service regarding copyrights and intellectual property. You should only use images or designs that you have the rights to use. If you violate any copyright laws, your account may be terminated and you could face legal consequences.
Share Your Masterpiece
Once your T-shirt design has been published, don't forget to share it with the Roblox community. You can promote your T-shirt design on social media or in Roblox groups. Encourage your friends and followers to try your T-shirt design out and leave reviews for it in the Roblox catalog.
Conclusion
Creating your own T-shirt in Roblox is a fun and easy way to personalize your avatar. By following these steps and taking legal issues into consideration, you can create a unique T-shirt design that stands out among millions of other players. So, get creative and show off your masterpiece in the Roblox community! P.S. No we will not make Roblox-related items for you. lol. Have a great Day. :)


Leave a Comment